Programmatic Ads and Echobox Email
Overview
- Echobox supports the ability to serve display advertisements to your newsletter subscribers, including via Ad Networks such as LiveIntent, Google Ad Manager and Powerspace
- Programmatic display ads can be challenging to implement in email newsletters, we therefore recommend testing any integrations you desire with Echobox before you start, so we can ensure our Editions will work with your current setup
- Below are specific examples we would need to test with different platforms
LiveIntent
Please contact your Echobox account manager to be granted access to our LiveIntent integration.
Once this has been completed, you will be able to position and configure LiveTag and SafeRTB blocks in your newsletter template.
LiveIntent’s documentation explains the process:
https://support.liveintent.com/how-to-implement-livetag-3-0/
Echobox has simplified the setup process so that instead of having to enter and configure large blocks of HTML code, you simply need to provide the key parameters required by each block, and we do the rest.
Go to your newsletter’s content configuration page - Settings > Campaigns > {Campaign Name} > Content and follow these instructions:
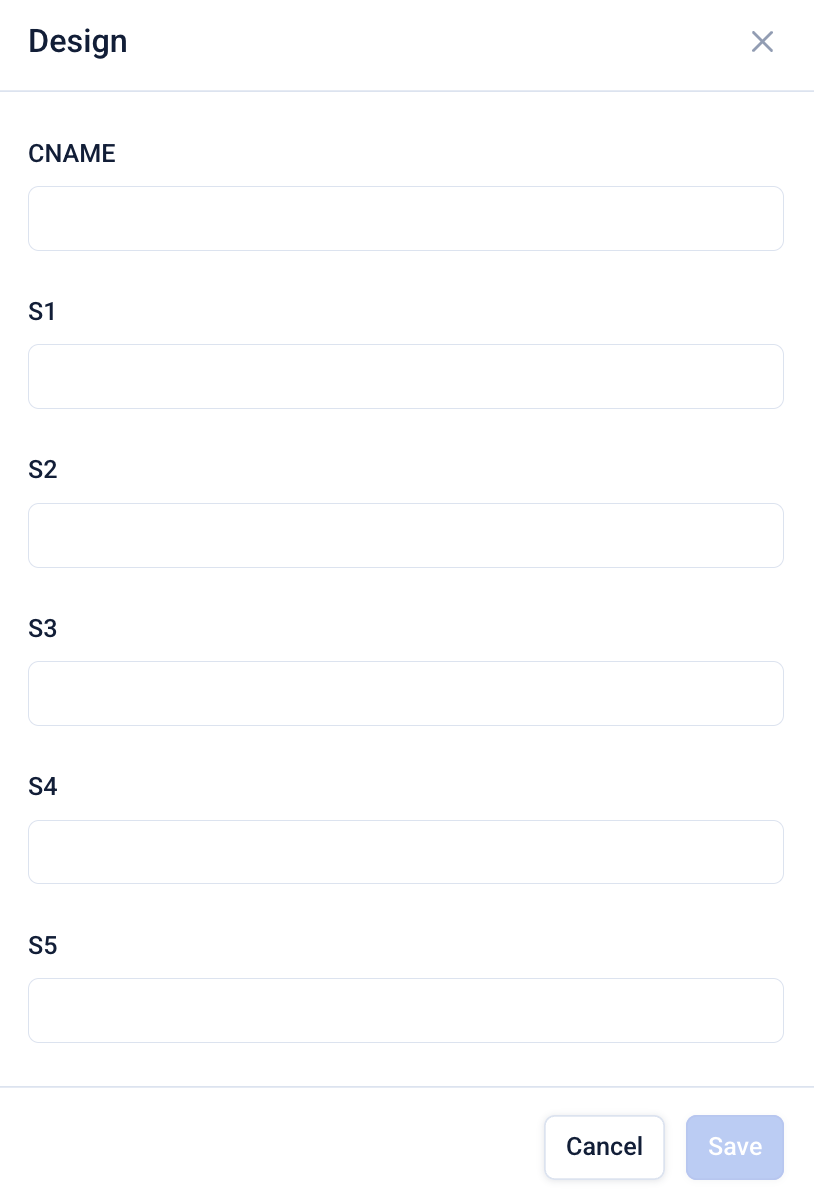
SafeRTB
Add the LiveIntent SafeRTB custom block as close to the top of the template as possible.
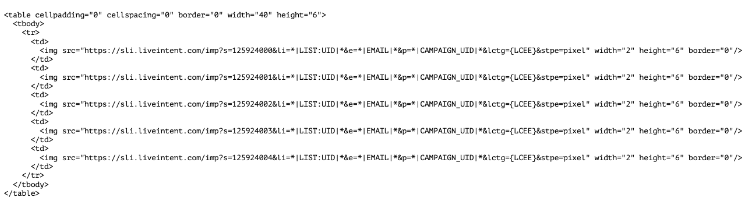
Your existing SafeRTB tag will look something like this:
The key parameters you’ll need to add to configure the custom block are:
- CNAME - this is your dedicated LiveIntent URL, typically something like sli.your-domain.com
- S1-S5 - these are the five numeric parameters that appear as s=1234567890 in the above example
LiveTag
Add LiveIntent LiveTag custom blocks wherever you want ads to appear.
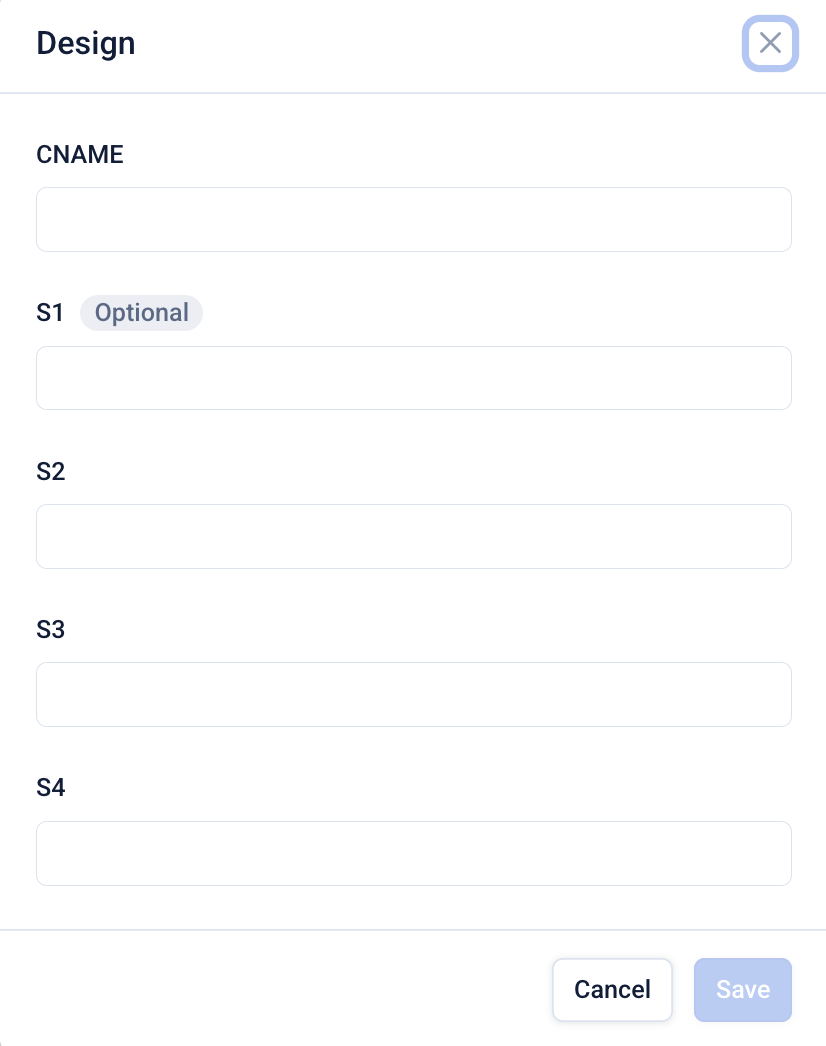
To configure the LiveTag the process is almost identical to configuring the SafeRTB. You’ll need to examine your existing ads to extract the relevant parameters, which are CNAME and S1-S4 for version 2 tags, and CNAME and S1 to S5 for version 3 tags.
Google Ad Manager
Please contact your Echobox account manager to be granted access to our Google Ad Manager integration.
Once this has been completed, you will be able to position and configure Google Ad Manager blocks in your newsletter template.
Go to your newsletter’s content configuration page - Settings > Campaigns > {Campaign Name} > Content.
Click Add to add a new block and choose Google Ad Manager from the dropdown of block types. Click the three dots next to the block and select Design.
This will present you with a form where you can configure the ad.
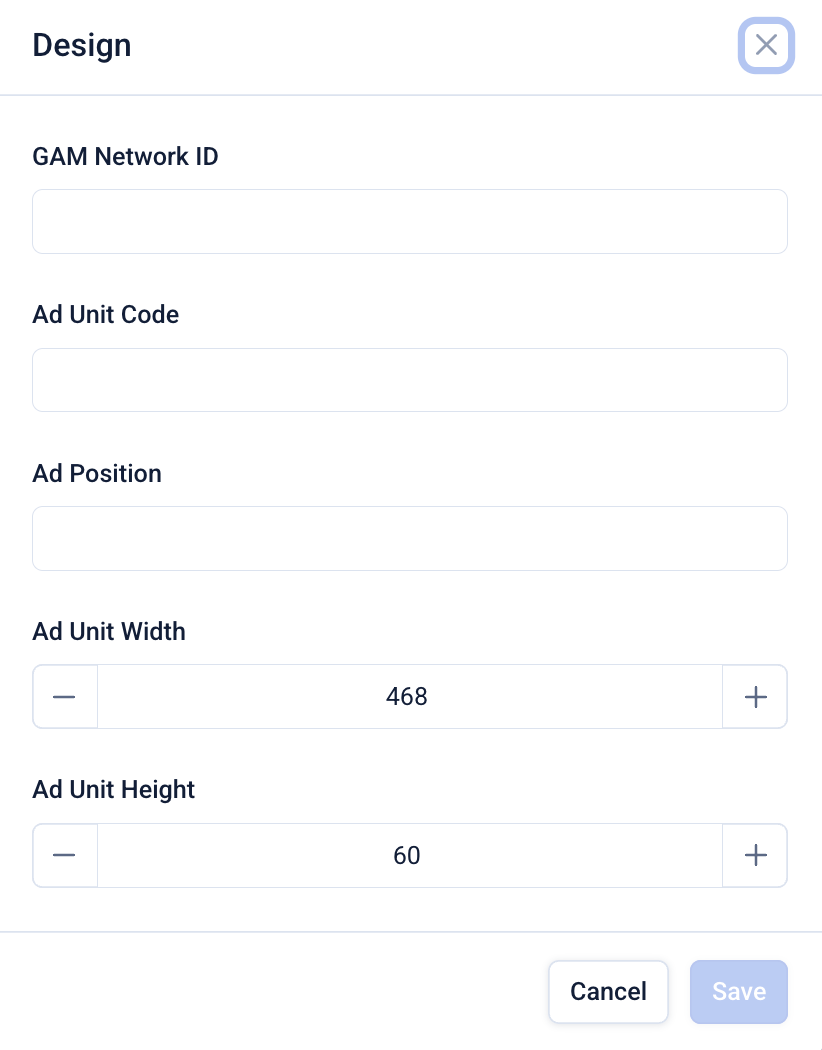
You will be required to enter the following data:
- GAM Network ID - this is unique identifier for the Ad Manager network the ad unit belongs to
- Ad Unit Code - the code for the ad unit to be displayed, including any parent unit codes if applicable
- Ad Position - if you are including multiple ads in your newsletter, each of these will require a unique position identifier (this can be a number of a string, as long as the values are different for each ad)
- Ad Unit Width/Height - set the desired dimensions for the ad block in pixels
Google’s official documentation provides a more detailed description of this process. You’ll notice that the Echobox implementation hides much of the complexity involved in ensuring that the HTML inserted is correct - you just need to provide the handful of parameters listed above, and we do all of the hard work.
Powerspace
Please contact your Echobox account manager to be granted access to our LiveIntent integration.
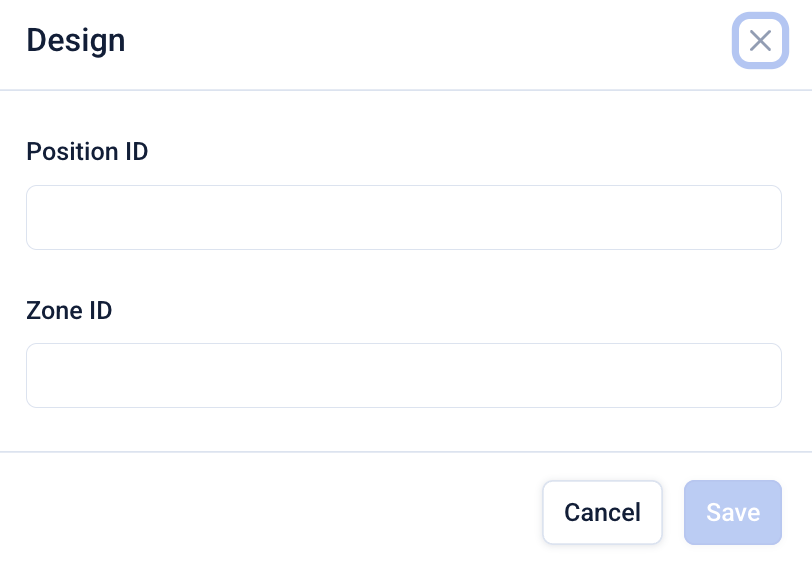
Navigate to Settings > Campaigns > {Campaign Name} > Content and add a ‘Powerspace Ad’ block, then click on the 3-dot menu and select ‘Design’.
From here, enter your Position ID and a Zone ID. The zone ID needs to be unique within the template, so if you are serving two ads you can enter 1 for the first ad, and 2 for the second.
You can find your Position ID by contacting Powerspace or by inspecting the existing code snippet you have for Powerspace ads which will look something like:
https://a.pwspace.com/ndc/12345ABC?ps_ee=5d9e687bbd906e805e9f8b9c83e11e0c3a3f1db45fa05be34d15c09af67b5dbf&z=1 https://a.pwspace.com/ndi/ 12345ABC ?ps_ee=5d9e687bbd906e805e9f8b9c83e11e0c3a3f1db45fa05be34d15c09af67b5dbf&z=1Formatting your ad
Beyond specifying the dimensions for a Google Ad Manager ad, configuring the ad creative happens in the ad platform itself. Echobox is not responsible for the styling or dimensions of the ad.
Emails typically have a maximum width of 650 pixels. It’s important to ensure that the ad creative widths do not exceed this width.
Testing your ad integration
Many ad networks populate the ad at the time the email is sent so it’s unlikely you’ll be able to verify the ad insertion from the email preview in Echobox, or from using the ‘Send preview’ functionality.
Instead, configure a segment including yourself and any colleagues who you wish to test with, and send an email to that segment to verify if the ads are populated correctly.
What about other ad networks?
If you are using a different ad network not listed above, please reach out to your Customer Support Representative. This will allow us to assess if we can support your ad network.