How to create your header and footer
Creating a customer header and footer in Echobox
Changing the design of the block
Overview
The header and footer of your newsletter are vital elements.
The header is the first thing your readers will see when they open your newsletter, helping to grab the reader's attention, establish your newsletter’s identity, and set the tone for the content that follows.
The footer is important for ensuring compliance, enabling readers to unsubscribe and to reinforce your brand identity. It’s common to include CTAs to other social networks and channels in the newsletter footer.
Creating a customer header and footer in Echobox
To create or edit your newsletter header navigate to Settings > Campaigns > Campaign Name > Content and click on the ‘Header’ or ‘Footer’ tab.

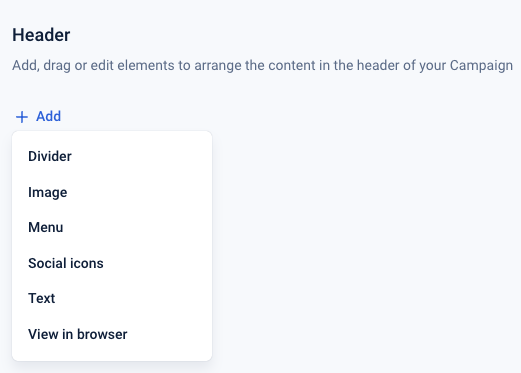
Select ‘Custom’ to configure your header or footer. This will reveal a menu of content blocks that can be used to configure your header or footer.
Adding a content block
Click ‘+ Add’ to open the menu of blocks.
After adding the blocks you can reorder them using the drag handles on the left.
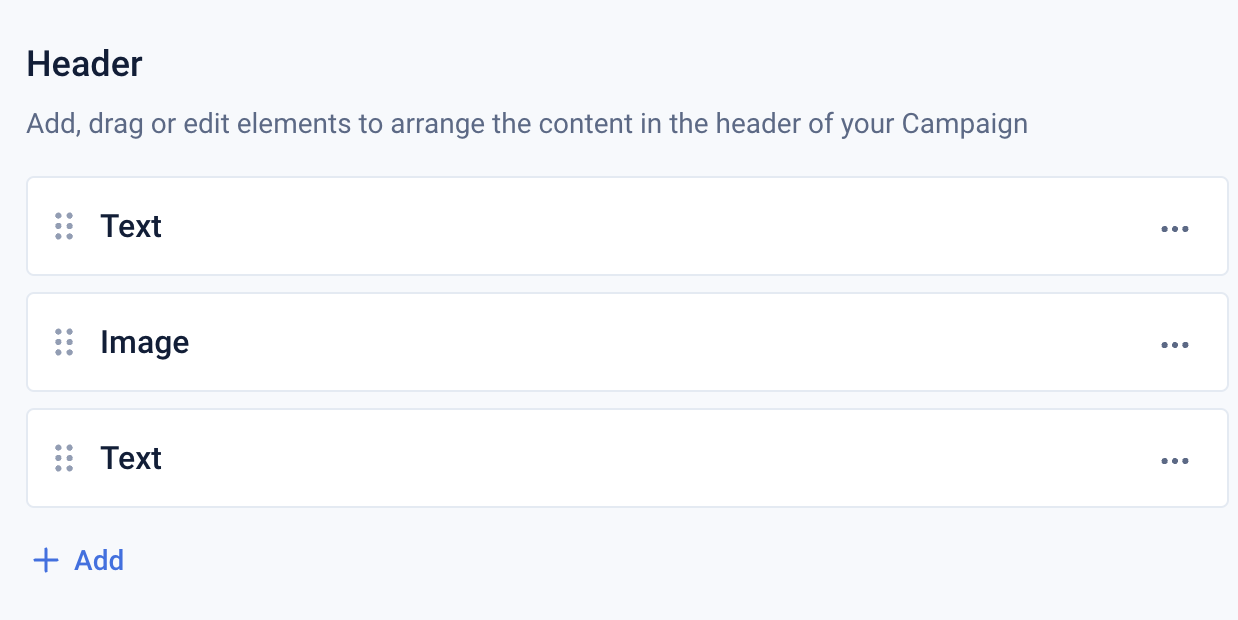
Blocks can be duplicated or deleted by clicking on the 3-dot menu on the right-hand side of the block.
Adding content to the block
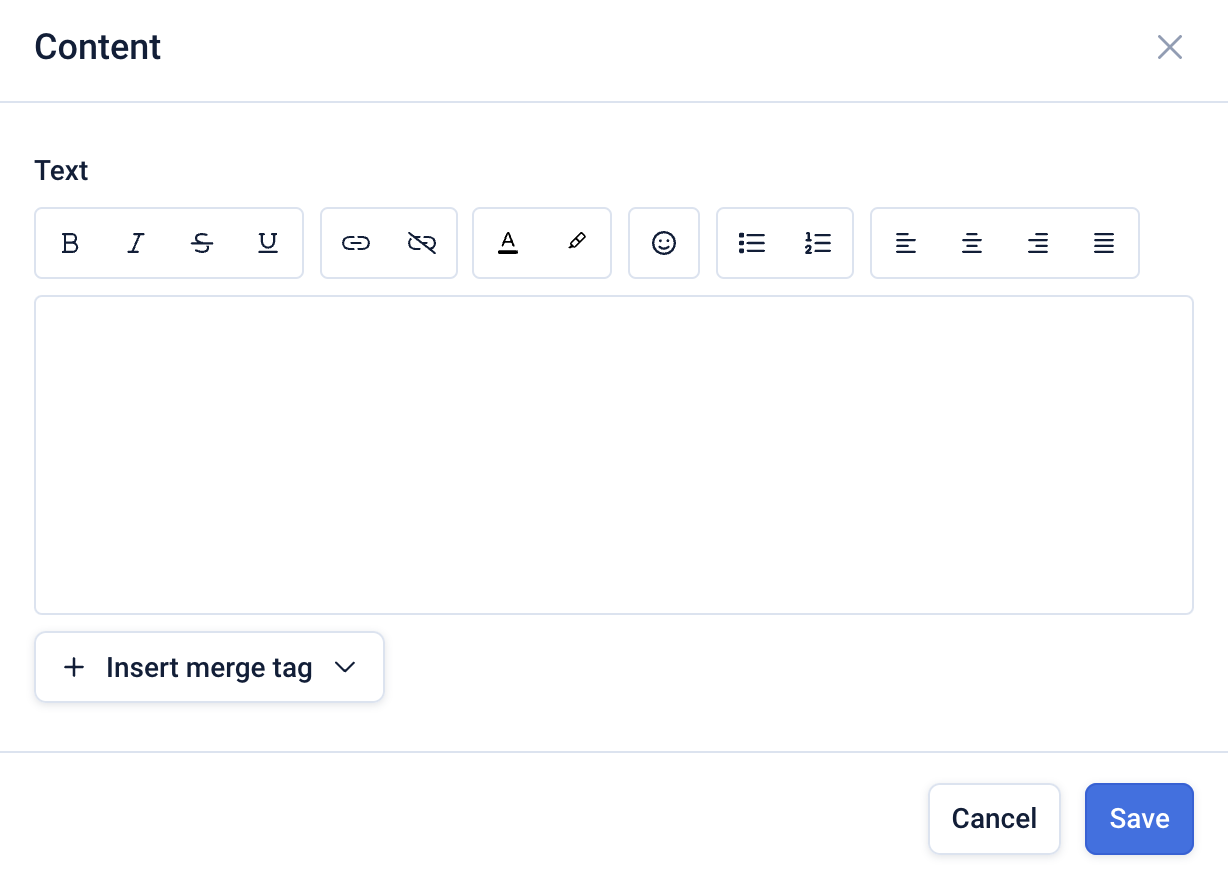
Open the 3-dot menu and click ‘Content’ to insert content into the block. This will be contextual to the block.
Below you can see the text input and styling options for the ‘Text’ block.
Changing the design of the block
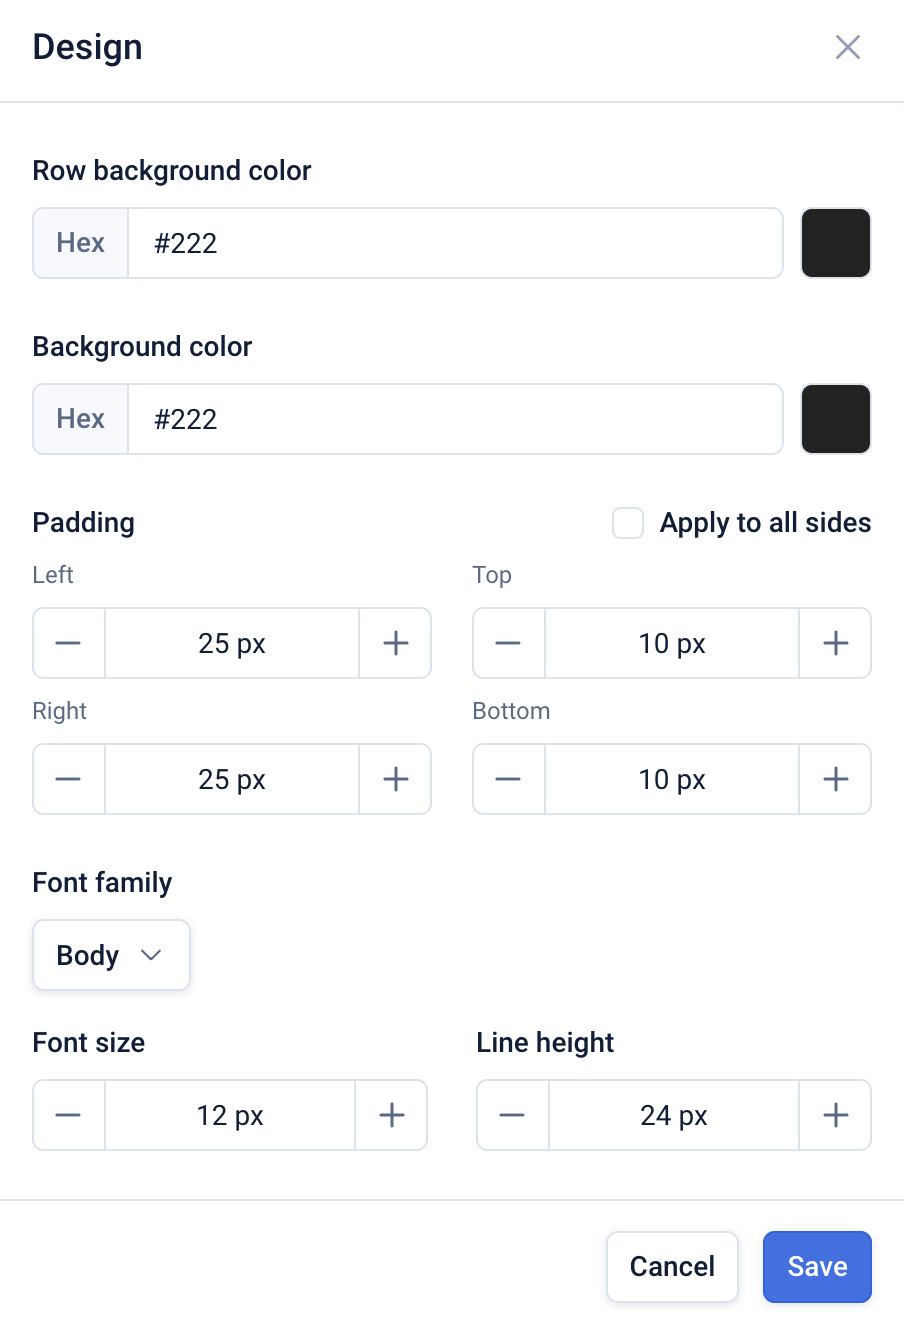
After adding some content to the block, open the 3-dot menu and click ‘Design’. This will present the design options for the content block.
Common settings include the background color for the block and the row, and the padding that should be applied to the block contents.
Below you can see the design options for a ‘Text’ block.
Previewing your changes
Click ‘Save’ on the ‘Content’ or ‘Design’ menu for a block and the preview will reload displaying how your newsletter will appear.